Canon LV-5210 Instruction Manual
Browse online or download Instruction Manual for Projector accessories Canon LV-5210. Canon LV-5210 Instruction Guide User Manual
- Page / 8
- Table of contents
- BOOKMARKS
Summary of Contents
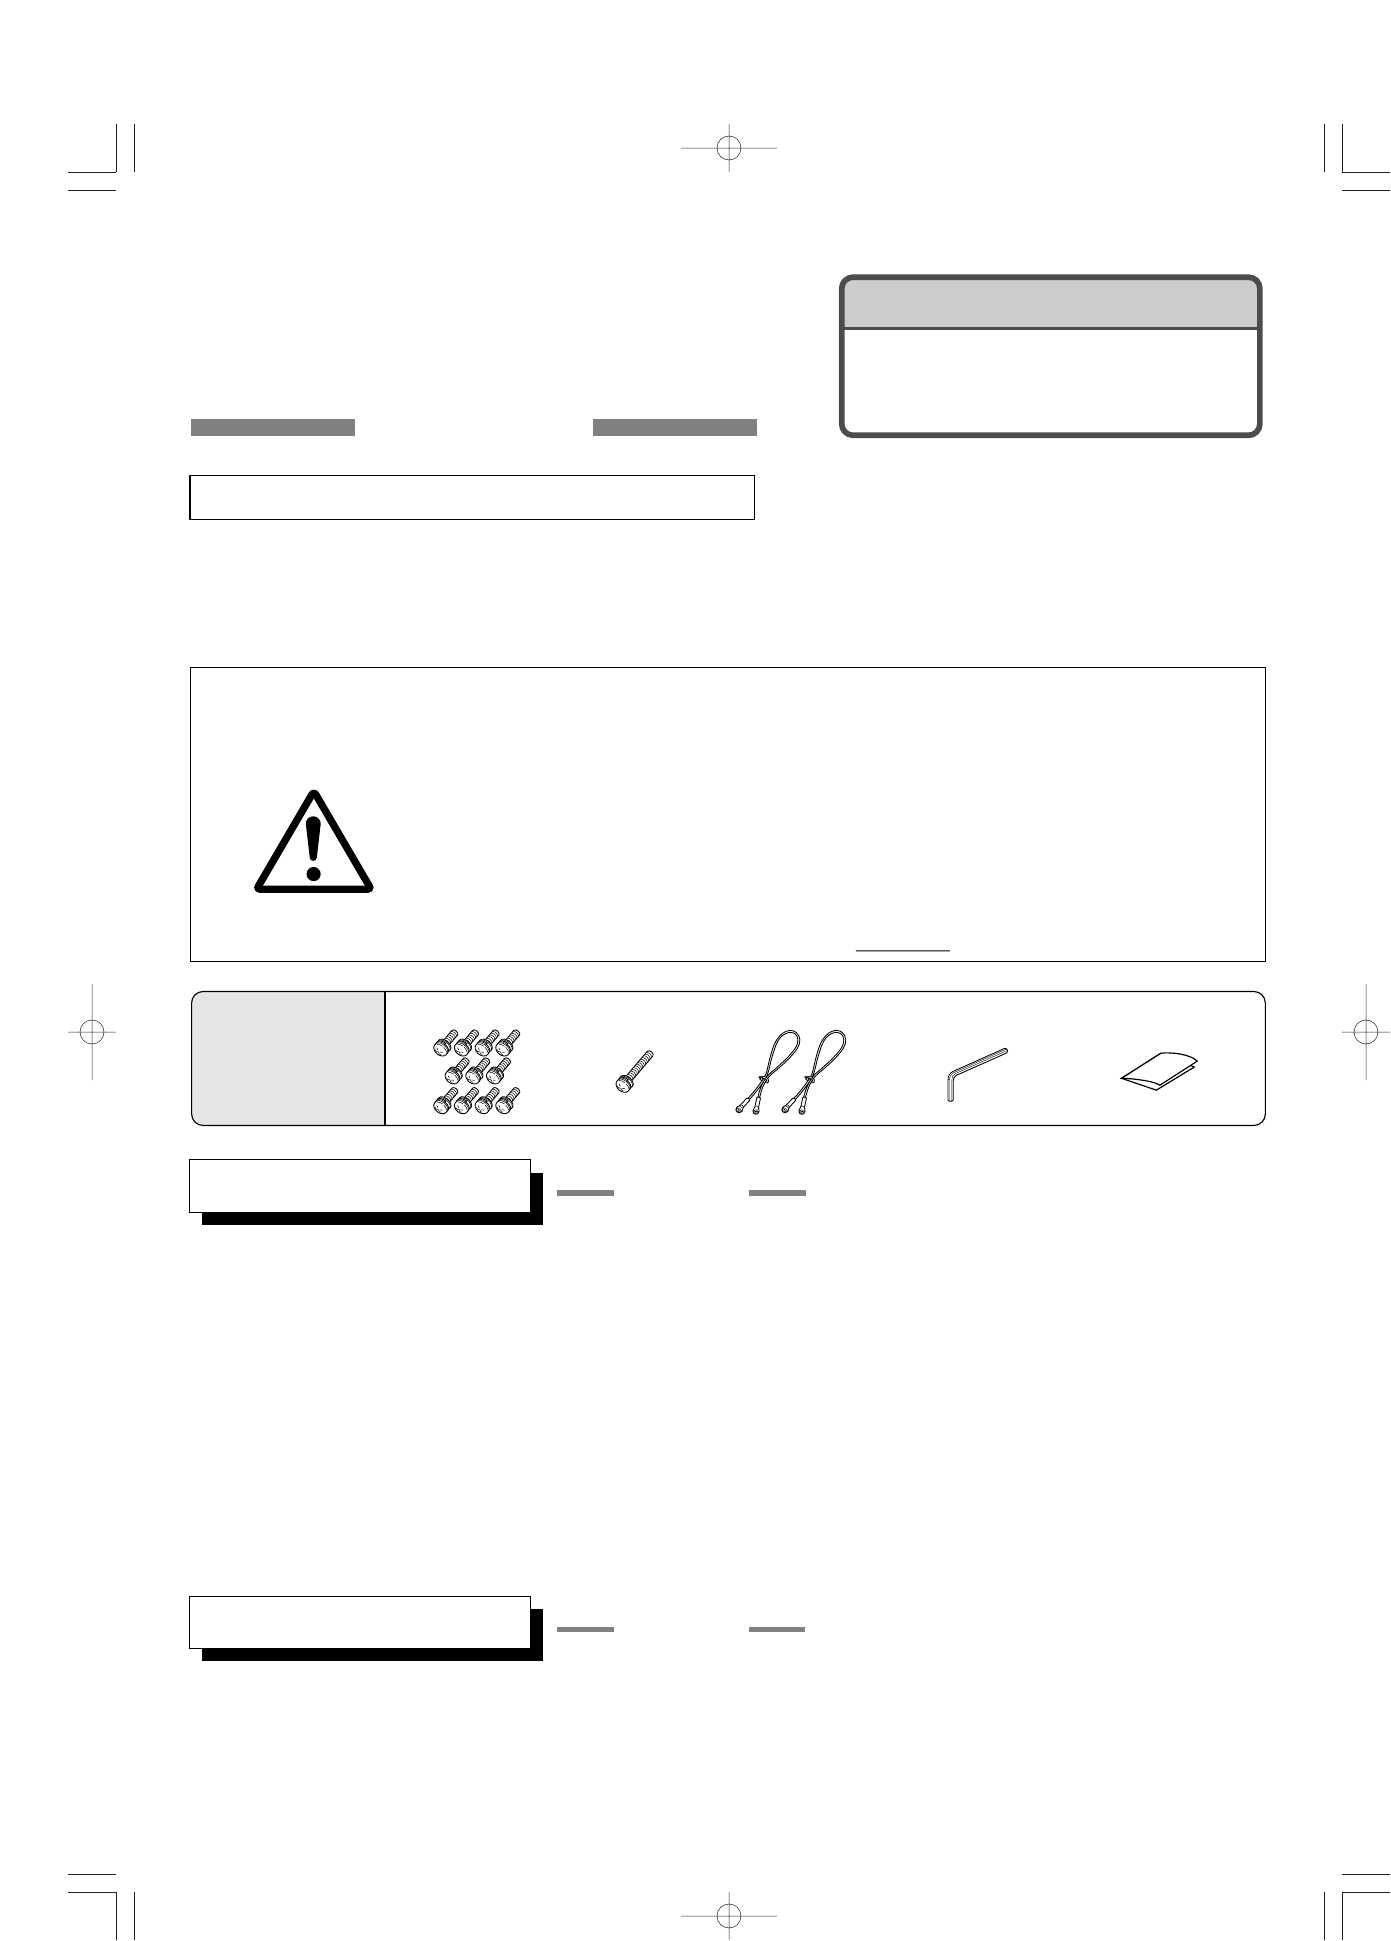
組立と設置の手順 図1参照 投写位置の調整 図2参照 取付適 合 プロ ジェ ク タ ー 品番 LV-7215, LV-7210, LV-5210設置上の注意 ●取り付けは必ず水平な天井に行ってください。傾いた天井には設置しないでください。 ●地震や、振動などによる横ゆれを防止する為に、設置のときワ
図1 … 組立 プロジェクターの落下防止対策について ※ここで説明されているプロジェクター本体の落下防止措置は必ず行ってください。 ワイヤー クランプ ネジA (同梱品) ワイヤー (同梱品) アジャスター cvxzプロジェクター本体 ネジ(A) ばね座金と平座金組込み十字穴付き ナベ小ねじM4×1
図2 … 調整のしかた プロジェクター角度固定後、そのまま固定した状態で再角度 調整を行うと、固定部の変形にともない、再固定ができない 状態が発生する場合があります。再角度調整を行う場合は、 角度調整ネジをゆるめて角度調整を行ってください。 注 意 調整後は、しっかり固定されていることを確認してくだ
(表示寸法 単位mm) (表示寸法 単位mm) およその投写距離 40型 1.0m1.6m60型 1.5m2.4m70型 1.8m2.8m80型 2.0m3.2m90型 2.3m3.6m100型 2.5m4.0m110型 2.8m4.4m120型 3.1m4.8m150型 3.8m6.0m200
Assembly and installation procedureRefer to Fig. 1.Adjusting the projection positionRefer to Fig. 2.Applicable Projector Model Nos.LV-7215, LV-7210, L
Fig. 1 AssemblyMeasures to prevent the projector from falling* Make sure to take measures to prevent the projector main body from falling as explaine
Fig. 2 AdjustmentCAUTIONAfter adjustment, confirm that the projector is fixed securely.If the angle is not proper, adjust the angle again.Rotated 360
(Unit: mm)(Unit: mm) Approximate projection distance401.0m1.6m601.5m2.4m701.8m2.8m802.0m3.2m902.3m3.6m1002.5m4.0m1102.8m4.4m1203.1m4.8m1503.8m6.0m200
Related products and manuals for Projector accessories Canon LV-5210


 (52 pages)
© 2020, manymanuals.com. All rights reserved. | 0.831 s |
 Manymanuals.com
 Manymanuals.de
 Manymanuals.fr
 Manymanuals.it
 Manymanuals.pl
 Manymanuals.cz
 Manymanuals.es
 Manymanuals-pt.com
Comments to this Manuals