Canon IP ReadyTM Series Video Alarm FDW75C12N Operations Instructions
Browse online or download Operations Instructions for Security access control systems Canon IP ReadyTM Series Video Alarm FDW75C12N. Canon IP ReadyTM Series Video Alarm FDW75C12N Operating instructions User Manual
- Page / 26
- Table of contents
- BOOKMARKS
- Instructions 1
- 1-800-554-1124 2
- AXIS 213 5
- AXIS 214 6
- MOUNTING HOLE 7
- CANON VB-C10R 8
- CANON VB-C50iR 9
- CANON VC-C4R / VC-C50iR 10
- ELMO PTC-200C 11
- ELMO PTC-201 12
- ELMO PTC-400C 13
- ELMO PTC-401 14
- JVC VN-C30U 15
- Attach camera using this hole 16
- PIXORD 261 / 262 17
- TOSHIBA IK-WB21A 20
- RJ45 Ethernet Connector 21
- INSTALLING WALL MOUNT 22
- HOUSING TOP: 22
- Not included 23
- Part Number Description 24
- (NOT INCLUDED ON 12VDC UNITS) 24
- Replacement Parts List 24
- Product Registration/Warranty 26
- Register Your Products 26
- Online Option 2: Mail-In 26
Summary of Contents
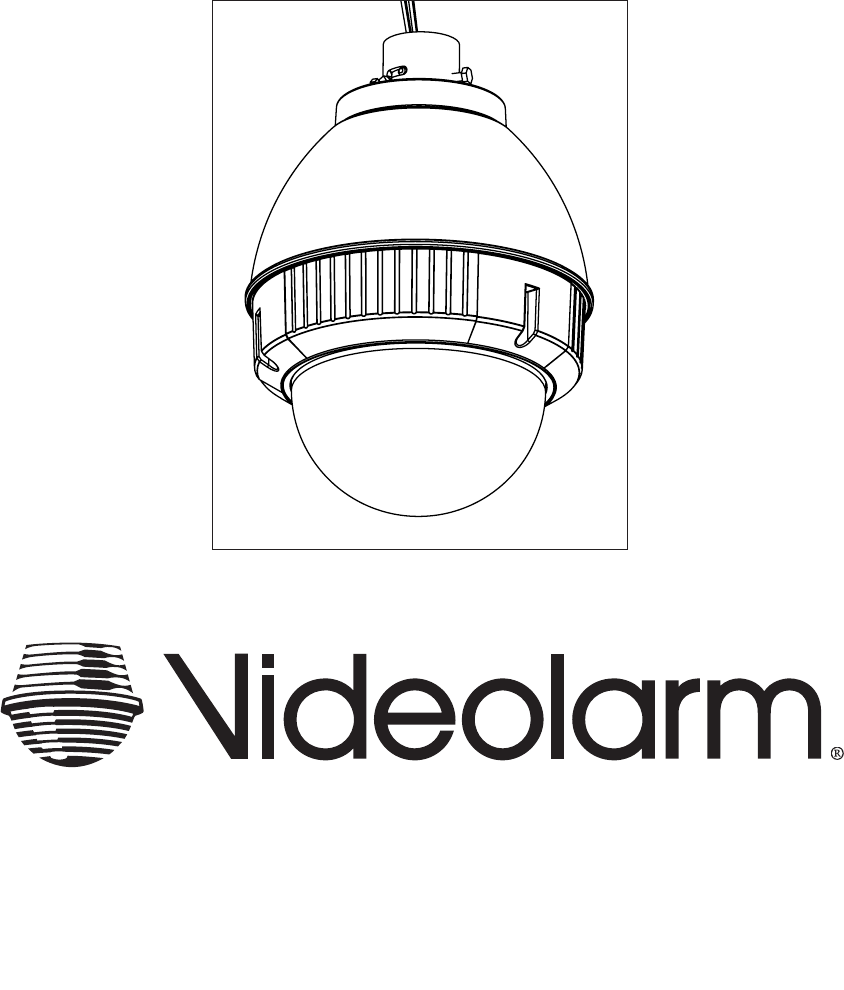
- 1 -Before attempting to connect or operate this product,please read these instructions completely.Product InstructionsIP Ready™ SeriesFDW75C12N &
- 9 -INSTALLING QUICK RELEASE BRACKETSCANON VC-C4R / VC-C50iR2539 Mounting Plate:1. Install the camera to the 2539 mounting plate using(2) 10-32 scre
- 10 -INSTALLING QUICK RELEASE BRACKETSELMO PTC-200CMounting plate for this unit is included in the housing packet. Remove existing mounting plate in
- 11 -INSTALLING QUICK RELEASE BRACKETSELMO PTC-201Mounting plate for this unit is included in the housing packet. Remove existing mounting plate ins
- 12 -INSTALLING QUICK RELEASE BRACKETSELMO PTC-400CMounting plate for this unit is included in the housing packet. Remove existing mounting plate in
- 13 -INSTALLING QUICK RELEASE BRACKETSELMO PTC-401Mounting plate for this unit is included in the housing packet. Remove existing mounting plate ins
- 14 -INSTALLING QUICK RELEASE BRACKETSJVC VN-C30U2539 Mounting Plate:1. Remove the mounting plate from the camera and place it onto the quick releas
- 15 -½"1"2"INSTALLING QUICK RELEASE BRACKETSPANASONIC BB-HCM381 / KX-HMC2802539 Mounting Plate:Attach camera using this hole1. Install
- 16 -½"INSTALLING QUICK RELEASE BRACKETSPIXORD 261 / 2622630 Mounting Plate:1. Install the camera to the 2630 mounting plate using WKH[
- 17 -INSTALLING QUICK RELEASE BRACKETSSONY SNCRZ302539 Mounting Plate:1. Attach the camera to the 2539 mounting plate using the (1) ¼ x 20 bolt, wash
- 18 -INSTALLING QUICK RELEASE BRACKETSSONY SNCRZ502539 Mounting Plate:1. Attach the SNCRZ50 camera to 2539 mounting plate using 3mm x 8mm bolt lockwa
!CAUTIONRISK OF ELECTRIC SHOCK!CAUTION: TO REDUCE THE RISK OFELECTRICAL SHOCK, DO NOT EXPOSECOMPONENTS TO WATER OR MOISTURE.SAFETY PRECAUTIONSIMPORTAN
- 19 -INSTALLING QUICK RELEASE BRACKETSTOSHIBA IK-WB21A2539 Mounting Plate:1. Remove the quick release bracket from the camera. Using (4) 8 x 32 x 3/
- 20 -WIRING INSTRUCTIONSWiring Color Code Power and Control InputsRJ45BNC(Large) Power(Small)AlarmsAFTER CAMERA INSTALLATIONMake inside housing wirin
- 21 -3. Mount the housing assembly to the mounting bracket and housing coupling. A safety cable is included with the housing to temporarily hold it
- 22 -Exploded View for Replacement Parts 111691011123547814166121318(1)(1)(3)(2)(2)(2)(8)(4)(2)(1)(1)(4)(4)(1)(3)(4)(3)(3)(1)(1)(4)(4)(1)(1)(4)(4)191
- 23 -Part Number Description1 RPFD7501 LOWER TRIM RING2 FD7T TINTED REPLACEMENT CAPSULEFD7C CLEAR REPLACEMENT CAPSULE3 RPFD703 DOME CLAMPING BRACKET4
- 24 -2.0003.250R .7332.1322.9811.5375.500Mounting Template
Product Registration/WarrantyThank you for choosing Videolarm. We value your patronage and are solely committed to providing you with only the highes
- 3 -!!ELECTRICAL SPECIFICATIONS (OUTDOOR ONLY): Power 12Vdc, Class 2 Only Total Power: 21 watts Housing onlyAccessories (Heater/Blower)
- 4 -INSTALLATION OF PTZ CAMERAinstruction for the model that matches the unit you have.INDEX OF CAMERASAXIS 213 5AXIS 214 6CANON VB-C10R 8CANON VB-C5
- 5 -INSTALLING QUICK RELEASE BRACKETSAXIS 2132539 Mounting Plate:1. Install the camera to the 2539 mounting plate using(2) 10-32 screws and lockwash
- 6 -INSTALLING QUICK RELEASE BRACKETSAXIS 2142685 Mounting Plate:1. Install the AXIS 214 camera to the 2685 mounting plate using the (3) 3mm x 12mm b
MOUNTING HOLEMOUNTING HOLEINSTALLING QUICK RELEASE BRACKETSAXIS 2153026 Mounting Plate:1. Install the Axis 215 camera to the 3026 mounting plate us
- 7 -INSTALLING QUICK RELEASE BRACKETSCANON VB-C10R2539 Mounting Plate:1. Install the camera to the 2539 mounting plate using(2) 10-32 screws and loc
- 8 -INSTALLING QUICK RELEASE BRACKETSCANON VB-C50iR2539 Mounting Plate:1. Install the camera to the 2539 mounting plate using(2) 10-32 screws and lo
More documents for Security access control systems Canon IP ReadyTM Series Video Alarm FDW75C12N


Related products and manuals for Security access control systems Canon IP ReadyTM Series Video Alarm FDW75C12N
 (24 pages)
© 2020, manymanuals.com. All rights reserved. | 0.964 s |
 Manymanuals.com
 Manymanuals.de
 Manymanuals.fr
 Manymanuals.it
 Manymanuals.pl
 Manymanuals.cz
 Manymanuals.es
 Manymanuals-pt.com
Comments to this Manuals