Canon Sure Shot BF Date User's Guide
Browse online or download User's Guide for Film cameras Canon Sure Shot BF Date. Canon Sure Shot BF Date User guide User Manual
- Page / 23
- Table of contents
- BOOKMARKS
- Camera User Guide 1
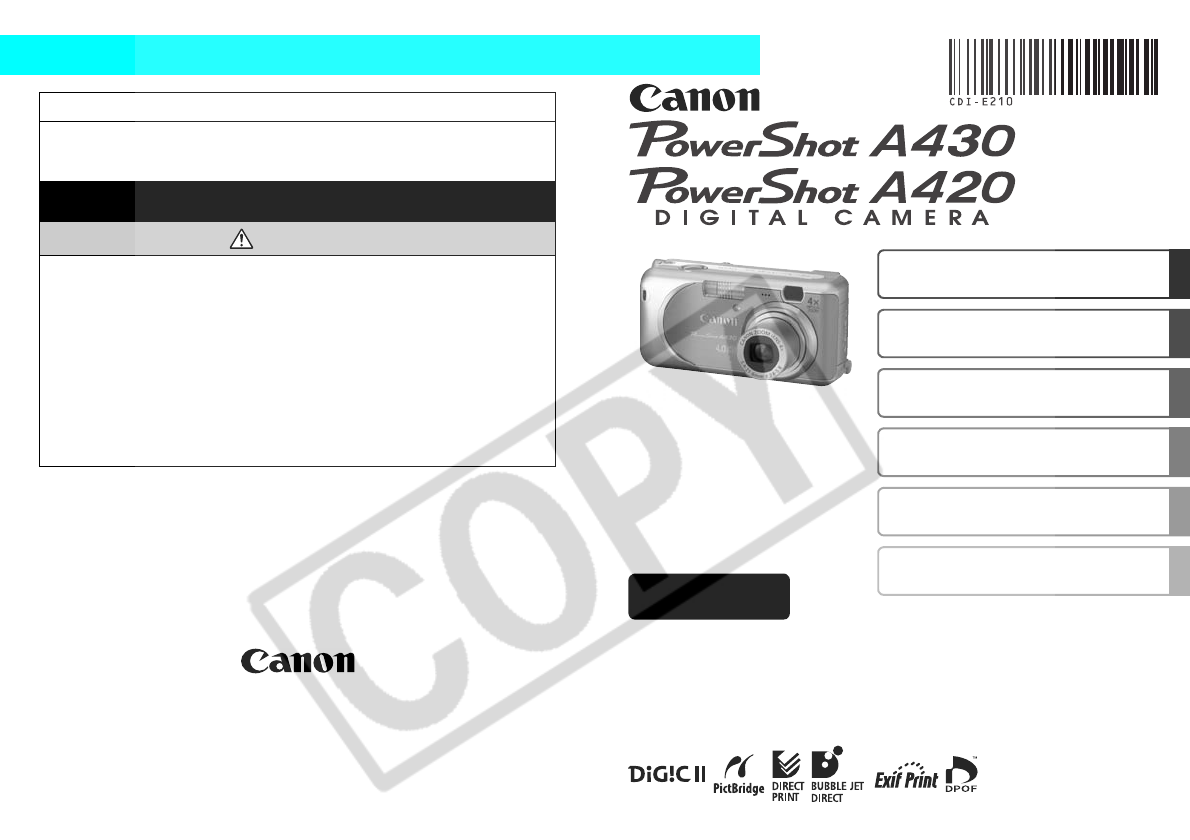
- PowerShot A430 2
- Preparations 3
- 1 Press the power button 4
- 1 Set the mode dial to 5
- 3 Use the 5
- Shooting 6
- Basic Shooting Functions 7
- 2 Press the FUNC./SET 8
- 4 Press the FUNC./SET 8
- Special Scene Mode Items 9
- Movie Mode Items 9
- Using the Zoom 10
- Using the Flash 10
- Playback 12
- Menus and Settings 13
- From shooting mode 14
- From playback 14
- Printing 15
- System Requirements 17
- 1 Install the software 18
- USB Port 19
- DIGITAL Terminal 19
- 2 Download the images 20
- 1 Download the images 21
- Transfer) 22
- 3 Press the MENU button 23
Summary of Contents
Safety PrecautionsBe sure to read, understand and follow the safety precautions below when using the camera, in order to prevent injury, burns or elec
8Using the ZoomThe zoom can be adjusted to the following in 35 mm film equivalent terms. PowerShot A430: 39 mm - 156 mm PowerShot A420: 39 mm -
9Shooting Close-Ups/Infinity Shots(Macro): Use this mode to shoot close-ups of flowers or small items.Image area at minimum shooting distance from end
10Playback1 Set the mode dial to (Playback) (a).2 Display the image you wish to view.Use the W or X button to select the image (b).Use the W button t
11Menus and SettingsSettings for shooting, playback modes or printing, or such camera settings as the date/time and sounds are set using the FUNC., Re
12Menus and SettingsRec./Play/Print/Set up/ My Camera MenusYou can specify settings related to camera functions from these menus: [ Rec. Menu], [ P
13PrintingConnect the camera to a direct print compatible printer*1 with a cable and simply press the button.1 Connect the camera to a Canon Direct
14Downloading Images to a ComputerThe following methods can be used to download images recorded by the camera to a computer. Some methods, depending o
15System RequirementsPlease install the software on a computer meeting the following minimum requirements.OS Windows 98 Second Edition (SE)Windows MeW
16Preparing to Download ImagesItems to PreparezCamera and computerzCanon Digital Camera Solution Disk supplied with the camerazInterface cable supplie
172 Connecting the camera to a computer.1. Use the supplied interface cable to connect the computer's USB port to the camera's DIGITAL termi
0Flowchart and Reference GuidesThe following guides are available. Refer to them as necessary according to the flowchart below.This icon appears for f
18 Downloading Images to a Computer A window allowing you to set the preferences will appear when a connection is established between the camera and c
19 Downloading Images to a ComputerThe following window opens when you establish a connection between the camera and computer. If it fails to appear,
20Downloading Images Using the Camera (Direct Transfer)When communication between the camera and computer is enabled, the button will light blue and
21All Images/New Images/DPOF Trans. ImagesSelect , or (a) with the S or T button and press the button (b).The images will download.zThe images wil
1PreparationsInstalling the Battery and Memory Card1 Open memory card slot/battery cover.2 Insert the batteries, and insert the memory card until it c
2To Remove the Memory CardUse your finger to push the memory card in until you hear a click, then release it.First Time SettingsSetting the Date/Time1
32 Select the item you wish to set using the W or X button and set its value using the S or Tbutton (a).3 Confirm that the correct time is displayed a
4Shooting1 Set the mode dial to (Auto).2 Aim the camera at the subject.Be careful not to block the flash with your finger.3 Press the shutter button
5Reviewing an Image Right After ShootingAfter a shot is taken, the image appears in the LCD monitor for approximately 2 seconds.To override this time
6Selecting a Shooting ModeIn the , , and modes, the same procedure is used for selecting shooting modes. The following explanation uses the mode
7Special Scene Mode ItemsBy selecting a shooting mode, you can capture scenes with optimal shooting.Movie Mode ItemsAllows you to shoot a movie just b
Related products and manuals for Film cameras Canon Sure Shot BF Date
 (147 pages)
(12 pages)
(147 pages)
(12 pages)
 (84 pages)
 (283 pages)
(214 pages)
(1 pages)
(100 pages)
(283 pages)
(214 pages)
(1 pages)
(100 pages)
 (4 pages)
(164 pages)
(4 pages)
(164 pages)
© 2020, manymanuals.com. All rights reserved. | 4.626 s |
 Manymanuals.com
 Manymanuals.de
 Manymanuals.fr
 Manymanuals.it
 Manymanuals.pl
 Manymanuals.cz
 Manymanuals.es
 Manymanuals-pt.com
Comments to this Manuals